The Internet Today
-
 11 min read**Top Patio Side Tables for Outdoors in 2026** aren’t just nice extras anymore—they’re the pieces that make your outdoor space actuall...
-
 12 min read**5 Best Wicker Patio Sets for Small Balconies in 2026** aren’t just about style anymore—they’re about making every square foot work h...
-
 11 min read**Top 5 Luxury Pool Floats for Adults in 2026** aren’t just oversized inflatables anymore—they’ve become a real part of how adults rel...
-
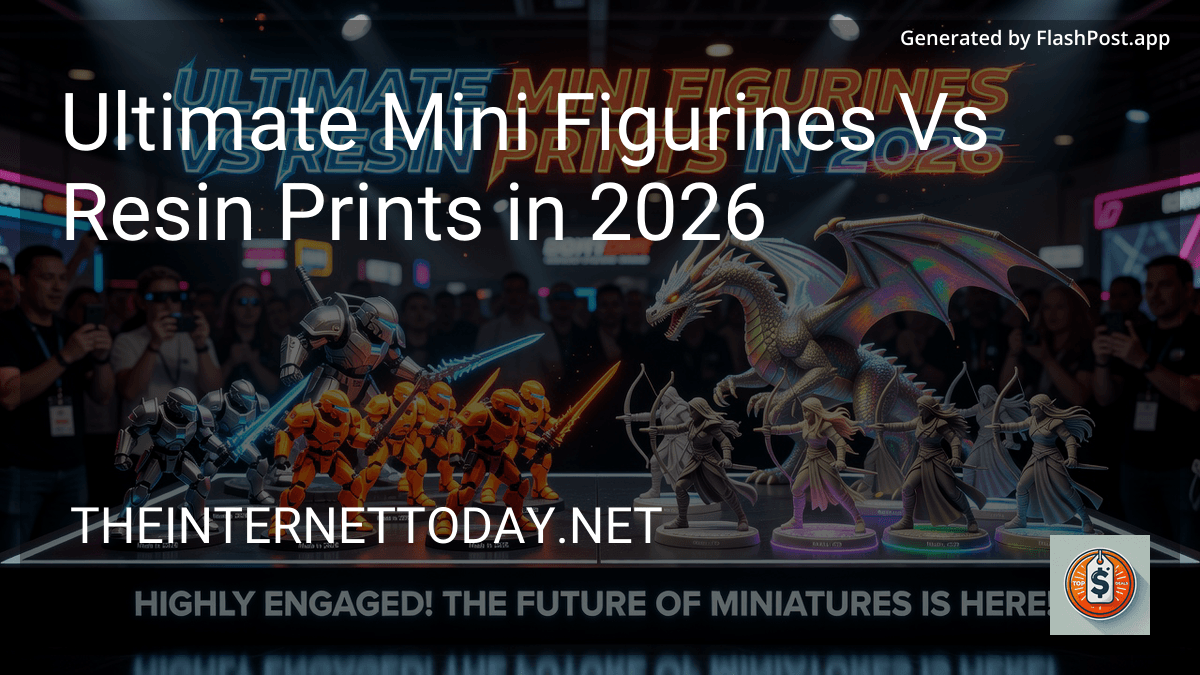 12 min read**Ultimate Mini Figurines Vs Resin Prints in 2026** is no longer a niche debate for hardcore hobbyists.
-
 12 min read**Where to Find Funny Bathroom Signs Online in 2026?** It’s a surprisingly practical question, not just a novelty search.
-

-
 12 min read**Best NFC Keychains for Social Media** can turn a quick tap into a new follower, a saved contact, or a booked opportunity—and that’s ex...
-
 11 min read**Propane Patio Heaters: Best Picks Vs Cheap in 2026** isn’t just a buyer’s-guide topic—it’s the difference between a patio you actu...
-
 11 min read**Best Cabretta Golf Gloves for Men in 2026** aren’t just about softness anymore.
-
 12 min read**5 Best Winter Cycling Gloves for Men in 2026** can make the difference between a powerful cold-weather ride and a miserable hour spent try...
-
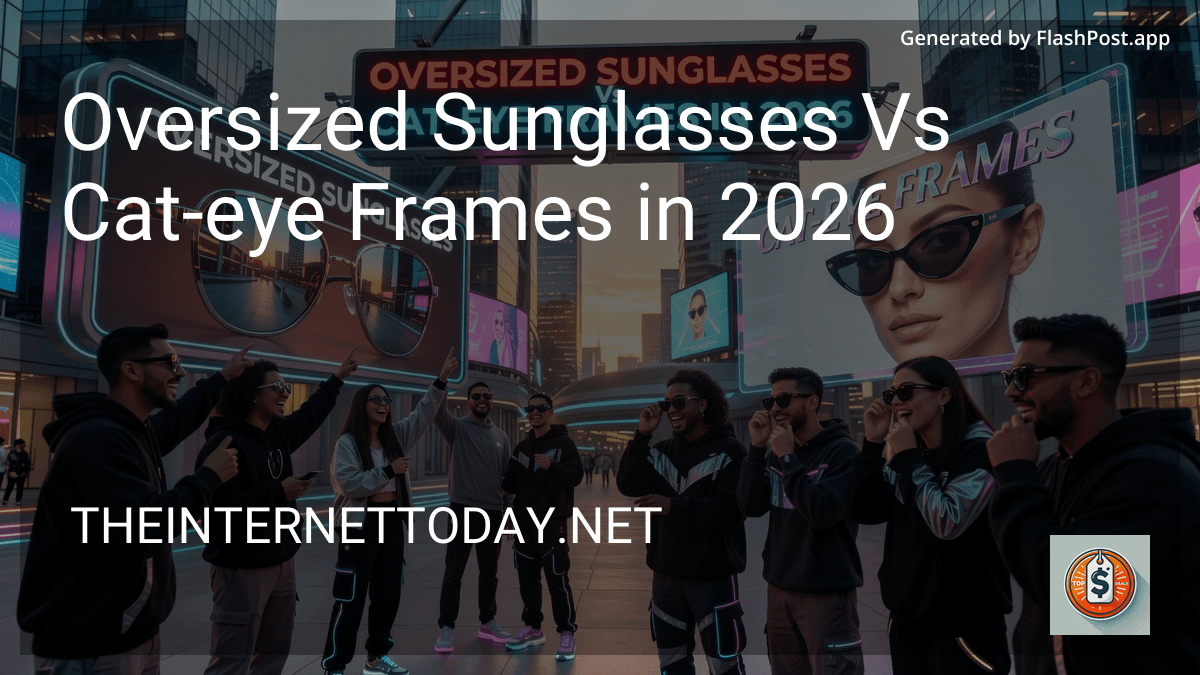 11 min read**Oversized Sunglasses Vs Cat-eye Frames in 2026** is more than a style debate — it’s a real decision about comfort, face balance, UV pr...